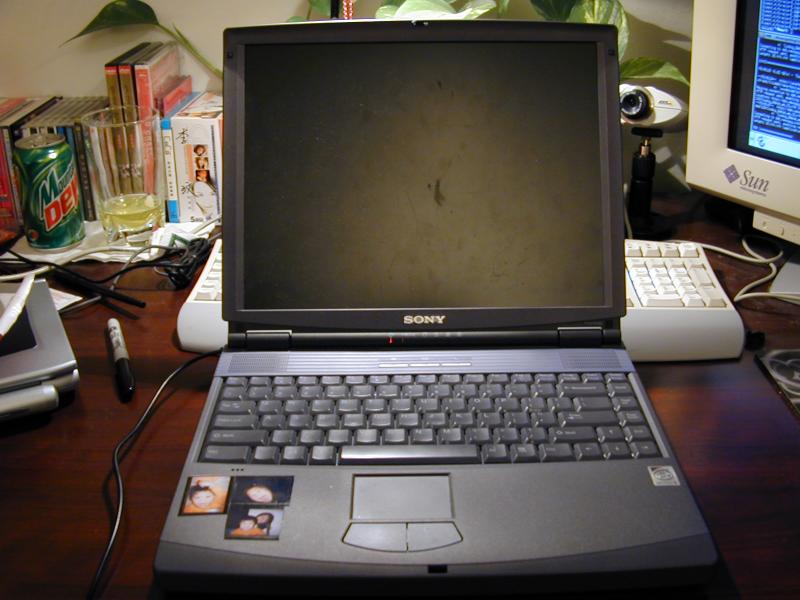
This is how I got the laptop. Pretty good condition.
Before trying to open the laptop, you might want to ground yourself by touching a metal object, that way you won't carry a static charge that might fry the laptop.
Btw yes, I just happened to be drinking Mountain Dew that night. I know it's a stereotypical drink for someone in my line of work. I actually haven't touched the stuff before this in months. Really. :P
There's also my lovely Sun monitor. Just had to put that plug in. :)
And of course my nearly complete collection of CoCo Lee CDs/VCDs/DVDs.
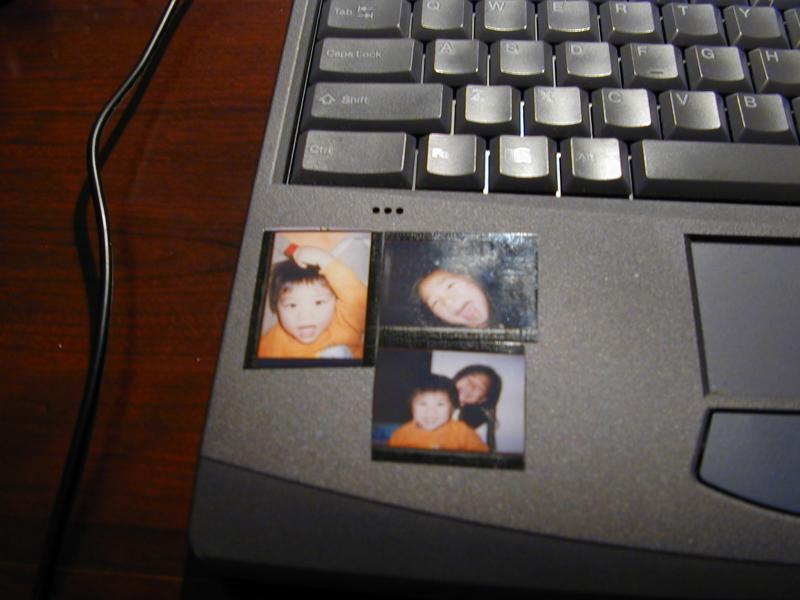
Ok, just to be slightly more off topic, can someone please explain to me why women who own laptops always have some sort of stickers or pictures plastered all over it? I see this much too often.
But the kids are cute, so I'll excuse it this time. :)
So I initially made the mistake of trying to disassemble this laptop starting with the screws on the bottom of the laptop. This was a mistake, which I learned the hard way and you can avoid.
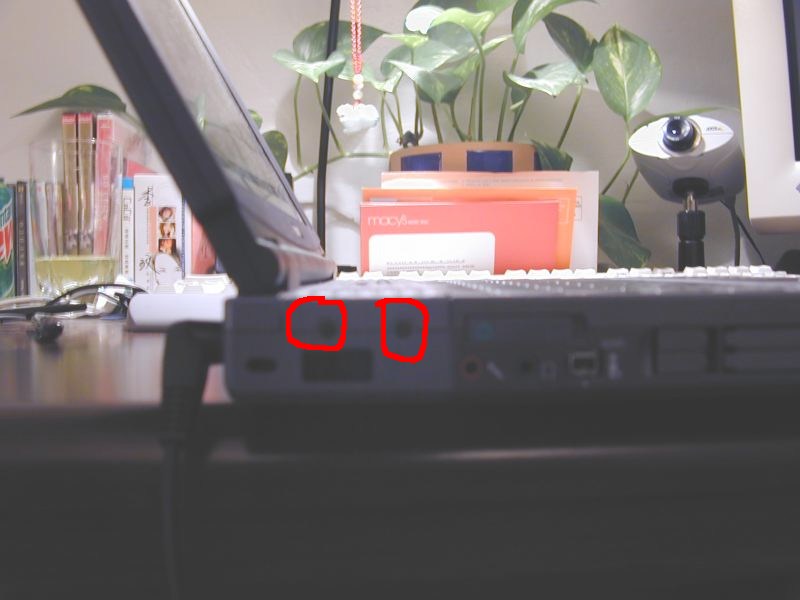
All you need to do to access the innards of this baby, is to unscrew the two screws on the left side of the laptop.
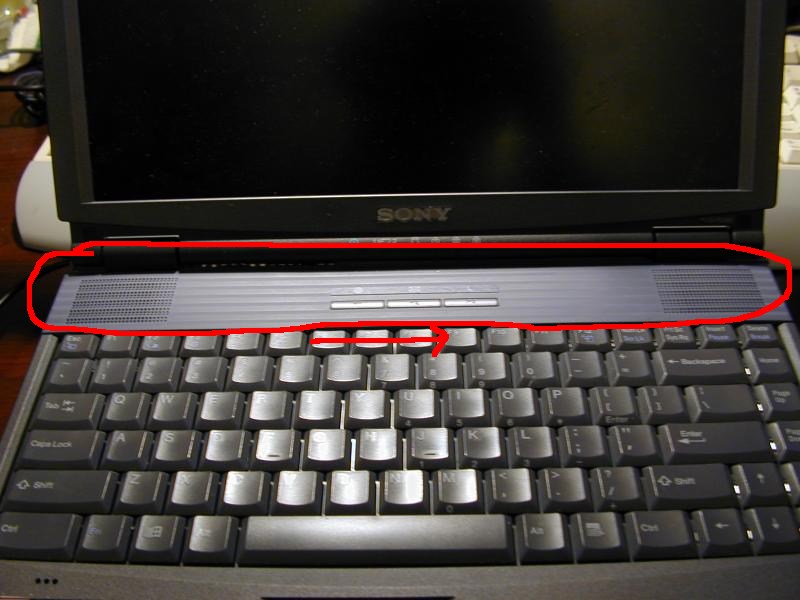
Then you slide the purple panel to your right.
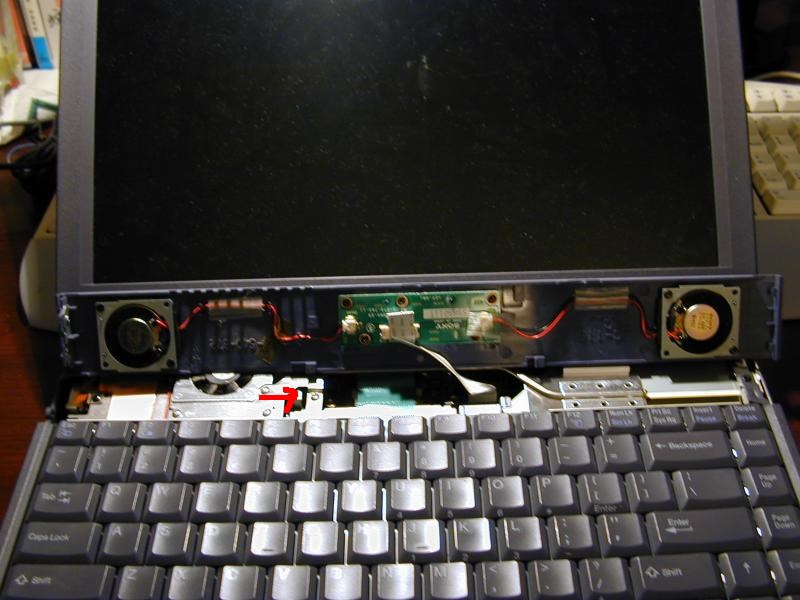
Gently lift the panel. It'll be attached to the laptop's motherboard by a cable so don't pull too hard. You can pull lightly to remove it, but I think it's a better idea just to leave it attached and just prop it against the screen so it's out of the way.
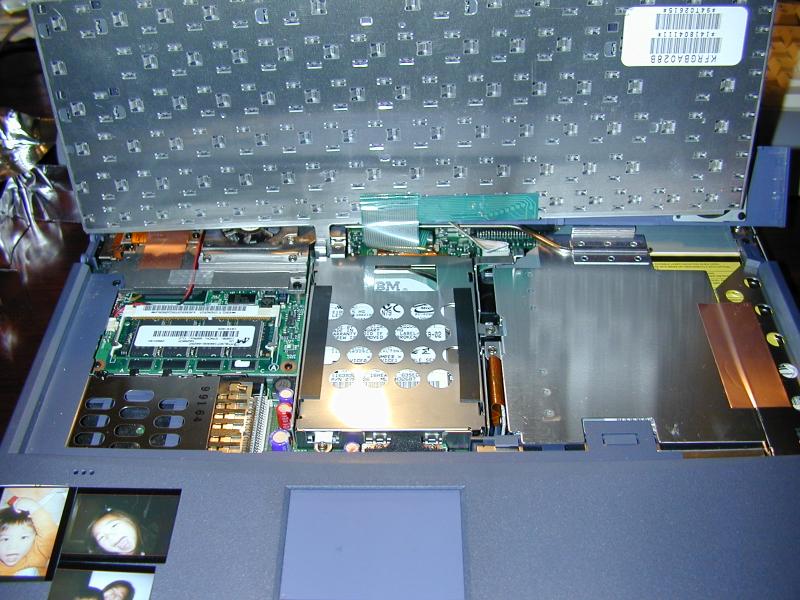
To remove the keyboard, unscrew the screw that the red arrow is pointing to. That keeps the keyboard attached to the body of the laptop. After that, side the keyboard up and then you can lift the keyboard out of the way just like the top panel. Again you can remove the keyboard by gently tugging on the flat cable, but I just left it connected.
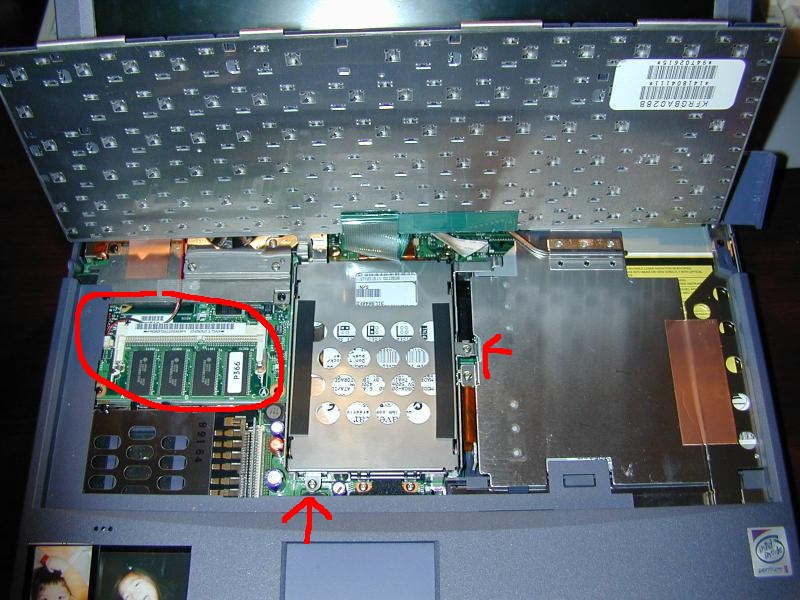
The red arrow is where the memory module should go. There's only one way to insert the memory, as the memory has is groved. Just push it in at a diagnal so that the leads of the memory and the leads of the slot match and push in. After it's secure, push it down.
The memory module will come with more detailed instructions with pretty pictures.
At this point you may want to put the keyboard down and turn on the laptop to make sure the computer recognizes the memory before going on adding the hard drive.
If the memory shows up, that's great and you're half done.
Now, to remove the hard drive, you need to take off the two screws that the red arrows are pointing to. You'll also want to keep the screws seperate from the one attaching the keyboard to the chasis. They are slightly different sizes.
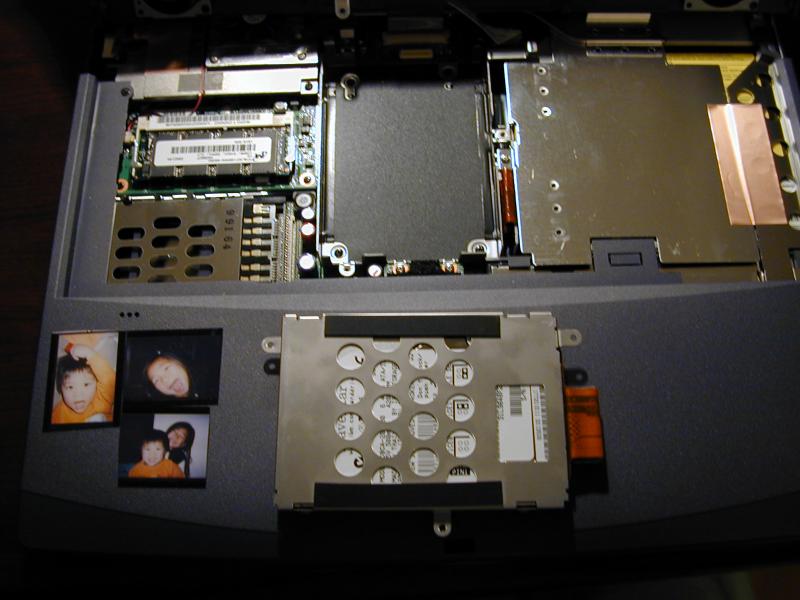
Left the hard drive out of the chasis. You might want to use a small screw driver to "encourage" it out of the enclosure. It'll be in there pretty tight, but don't force it.
The hard drive is also connected to the motherboard by a flat cable. This time you want to gently pull so that it is disconnected from the motherboard.
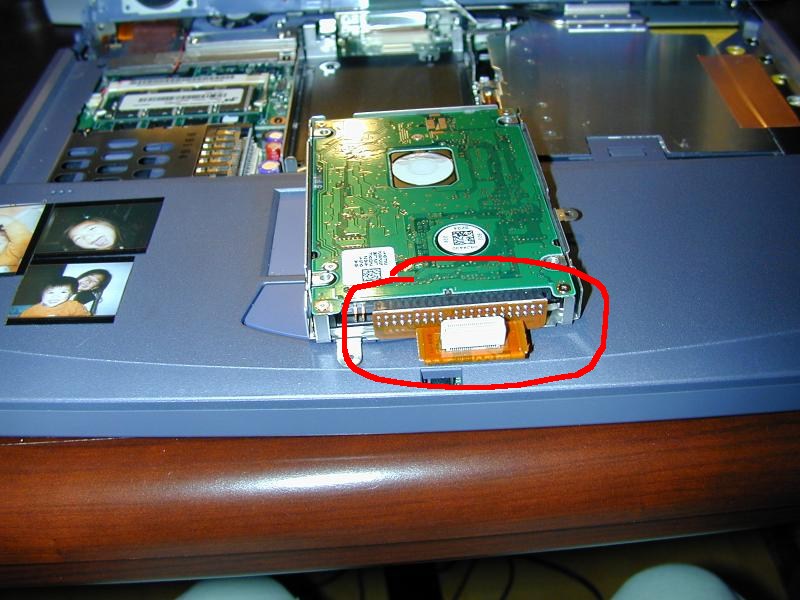
Notice the adapter. This is what you need to take off and plug onto a standard 2.5 inch notebook hard drive so that it works with the Sony VAIO. Notice the orientation of the cable because it needs to be attached the same way on the new hard drive.
You might need one of those tiny flathead screwdrivers to get the thing off. Then attach it the same way to the new drive.
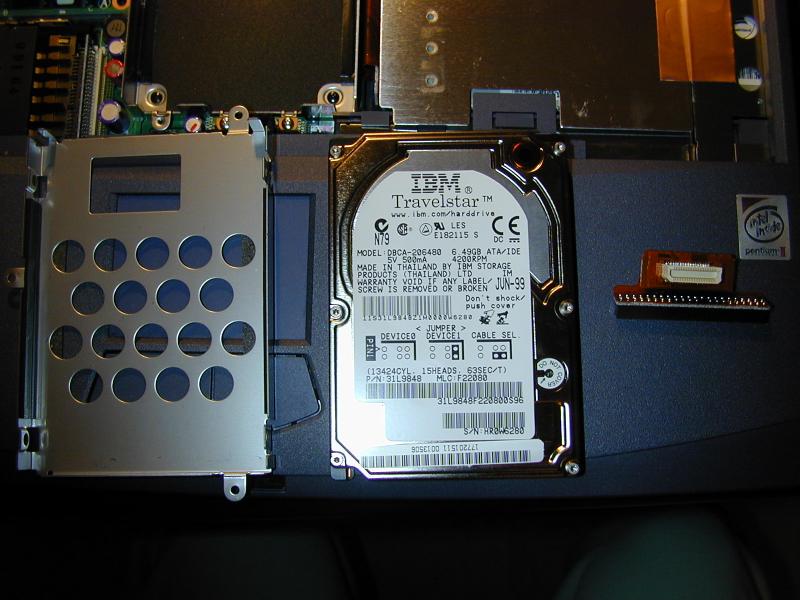
After that, to ahead and remove the outside metal casing of the hard drive by just removing the four screws on the outside edge of the drive.
The enclosure is on the left. The thing on the right is the little adapter and of course the center picture is the hard drive itself.
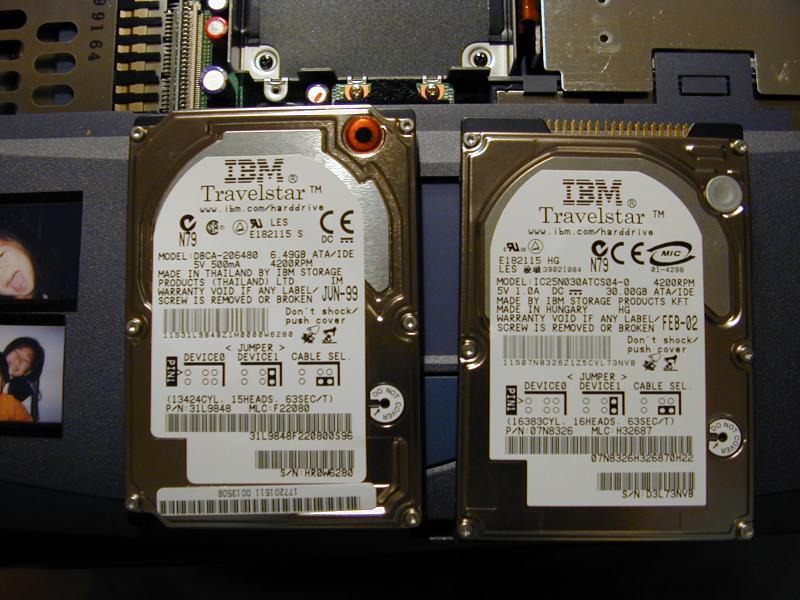
On the left is the old 6 gig hard drive and on the right is the new 30 gig hard drive. As you can see they are about the same size which is good.
Put the adapter on the pins of the new hard drive, with the same orientation as when it was on the old hard drive. Put the metal enclosure on the new drive.

When you're putting the hard drive back into the laptop chasis. Make sure that the little cable is pushed down onto the connecter shown in the picture. If it's not connected the hard drive won't be recognized. Push it down so that it's tight.
Once everything is in place, put the keyboard back, screw it down and put the purple panel back. You're done!
Wasn't that easy. :) Now you have a upgraded laptop that should last another year or so before it's completely and utterly obsolete.